The features of the multi function slab (MFS):
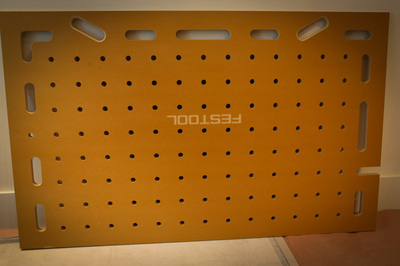
The MFS was designed by carpenters for carpenters. Our goal was to create a large work surface that was cost effective, easy to produce, lightweight to transport, extremely low profile to store and precise to use. We're confident that once you start using yours, you'll be hooked. Using our CAD file, our local CNC shop charged us $150 to machine two sheets of MDF to create two work tables and two tool shelves. Add the cost of two sheets of MDF ($100) and, for a total $250, you have two amazing, light-weight, go anywhere work benches.
(Click on images below to expand) If you've yet to view our video click the V icon below.
(Click on images below to expand) If you've yet to view our video click the V icon below.
Table specifications:
|
Dimensions: Work Top 1"x3'x5' Shelf 1"x2'x4' Material: 1" High Density or Light Weight MDF Sawhorse: Crawford StoreHorse (or your favorite) Work Height: 38" (using StoreHorse sawhorses) |
The transportation handles
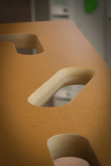
There are two handles placed in the work top and two placed in the tool shelf at a 30 degree angle to maximize comfort while transporting the slab. The handles on both the work top and the shelf are located in exactly the same position so that you can quickly place the tool shelf on top of the work top and walk away with both.
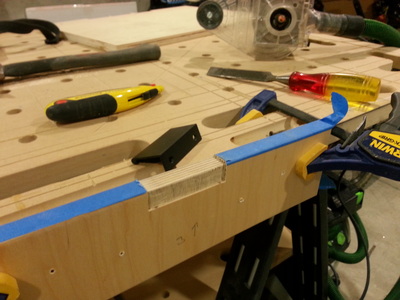
Once your slab has been machined by your local CNC shop, you'll want to round over both the top and bottom edges of the handle troughs with a 1/2" round-over router bit. This will ensure maximum comfort during transport.
Once your slab has been machined by your local CNC shop, you'll want to round over both the top and bottom edges of the handle troughs with a 1/2" round-over router bit. This will ensure maximum comfort during transport.
the dog holes
|
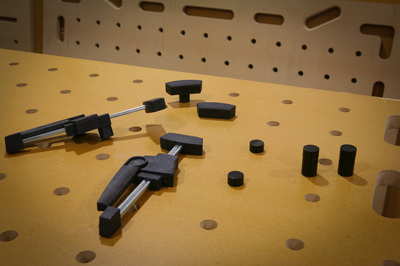
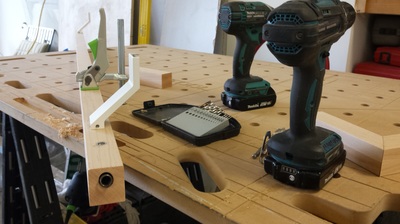
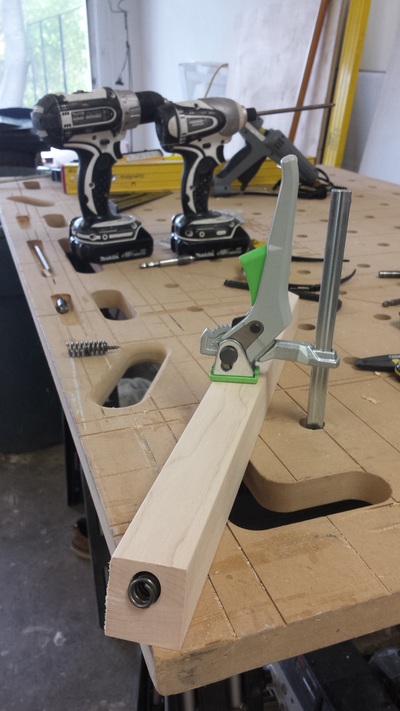
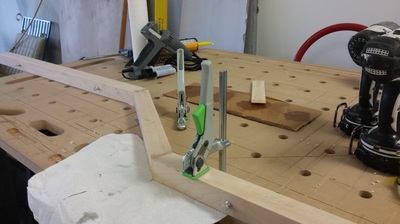
If you're not familiar with the use of dog holes in a work bench surface, you'll want to be. These dog holes, as found on many woodworking work tops, are the key to precise and efficient work. These holes allow you to insert "dogs" such as Qwas Dogs and the Festool Clamping Elements. Festool also makes a fantastic vertical clamp for these holes called a Quick Clamp. The Festool Quick Clamp is used for clamping Track Saw tracks and any materials you need firmly held to the table. As seen in the images to the right I'm using the Quick Clamp to hold a stair hand-railing while boring for a Spring Bolt installation. We also use the Qwas Track Dogs for quick and very accurate cross cutting and many other cuts with our Festool Track Saw.
|
Tool & Screw troughs
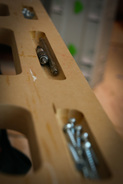
These three 3/4" deep troughs are ideal for storing a few screws or driver tips and other small hand tools.
Once your slab has been machined at your local CNC shop, you'll need to simply route these troughs into the surface with a 1/2" round nose router bit such as these Freud bits.
Once your slab has been machined at your local CNC shop, you'll need to simply route these troughs into the surface with a 1/2" round nose router bit such as these Freud bits.
the clamp Troughs
|
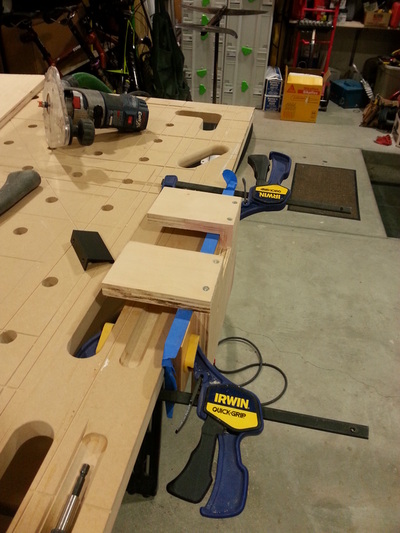
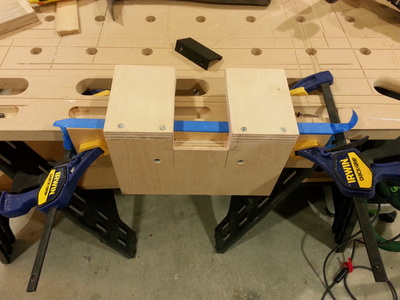
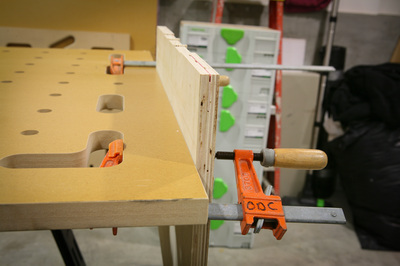
With eleven clamp troughs located on three sides of the slab strategically sized and positioned to handle any length material, vertical side clamping is one of the most useful functions of this table system. And, being able to use any style or manufacture of clamps such as Festool Quick Clamps, IRWIN Quick-Grip Bar Clamps or screw clamps makes this feature very versatile. You'll be surprised how many times you'll want to clamp projects vertically. Tasks like installing flush-mount handles on drawer fronts, mortising doors, mortising hinges on cabinets doors...
We find that positioning one clamp above the slab and one below enhances the stability of the piece being clamped. As you can see demonstrated in the images to the right, routing a flush drawer handle into a cabinet drawer front using a shop built template is made easy by having a stable vertical work location. |
the Tool shelf
|
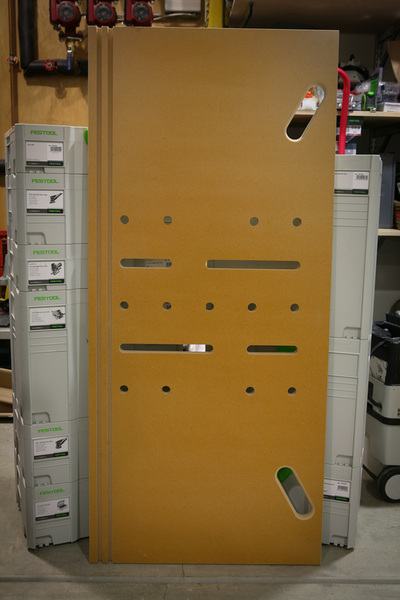
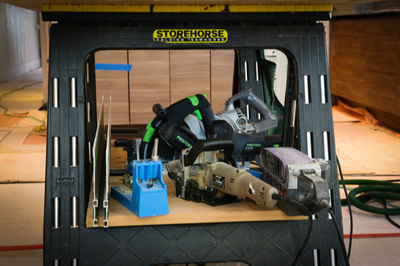
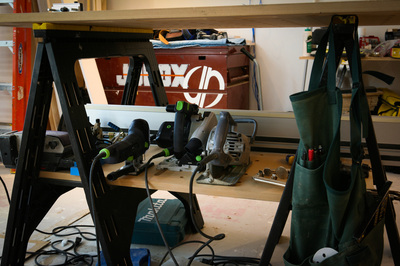
The tool shelf is the ideal way to stay organized close to the work top. This shelf measures 23"x48" providing you with ample space to store a number of large and small tools. There are several holes and elongated trenches allowing you to keep all your tools upright. We've even positioned the handles in exactly to same location as the work top handles so that you can easily stack and carry them both at the same time. When using the MFS on the job site, you'll find it becomes your island of productivity with all of your tools, templates & Festool tracks neatly organized for quick use.
|
the hose slot
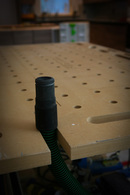
Sized perfectly to receive the smaller 27mm Festool vacuum hose (standard with Festool vacuums), this slot is surprisingly helpful when you're switching dust collection to multiple power tools such as sanders, track saws,
routers and jigsaws.
routers and jigsaws.
logos
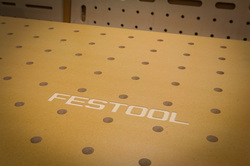
You may have noticed that we've had the Festool logo CNC'd into several of our tables. That's simply because we're huge Festool fans here at my construction company. However, you'll notice that on the CAD file you download from this site we haven't included any logos. This is because you can very easily add your own company logo or what ever you like. Simply send your logo file along with our CAD file to your local CNC shop and tell them where on the slab you'd like your logo placed and how deep you'd like it to be. We do our logos at 1/8" deep.
To finish or not to finish?
We've applied finish to some of our work tops and tool shelves (but not all) to see if that makes a difference or not. Frankly, I think it's good protection when glue gets on it or when the crew sets cold (sweating) drinks on the work tops during lunch - after all, it is MDF. But, I don't think it's absolutely necessary. If you do want that finished look, then you MUST pre-finish the sheet prior to it being delivered to your local CNC shop for machining. If you don't pre-finish, there's no way to prevent the finish getting down in the dog holes and preventing your dogs from fitting correctly. We applied two coats of ZAR Exterior Water-Based Polyurethane simply because we had some left over from a job site and it seems to work just fine.
